
Before diving in
Let’s talk about Affinity Designer, the problematics, and the process used before you jump in.
Affinity Designer is a vector-based graphic editor. This is great for theming since Reaper can use images at 3 different scales: 100%, 150%, and 200%.
Affinity Designer can facilitate the workflow to easily output those using 2 important systems: the Export Persona and Symbols.
I’m mostly gonna talk about 100% and 200% for now since 150% is a bit more complicated and requires more manual input.
The Export Persona allows you to choose how many files are exported from a single image. You can make it so that it exports an image at normal scale in the main folder, and another at x2 scale in the /200 folder for example.
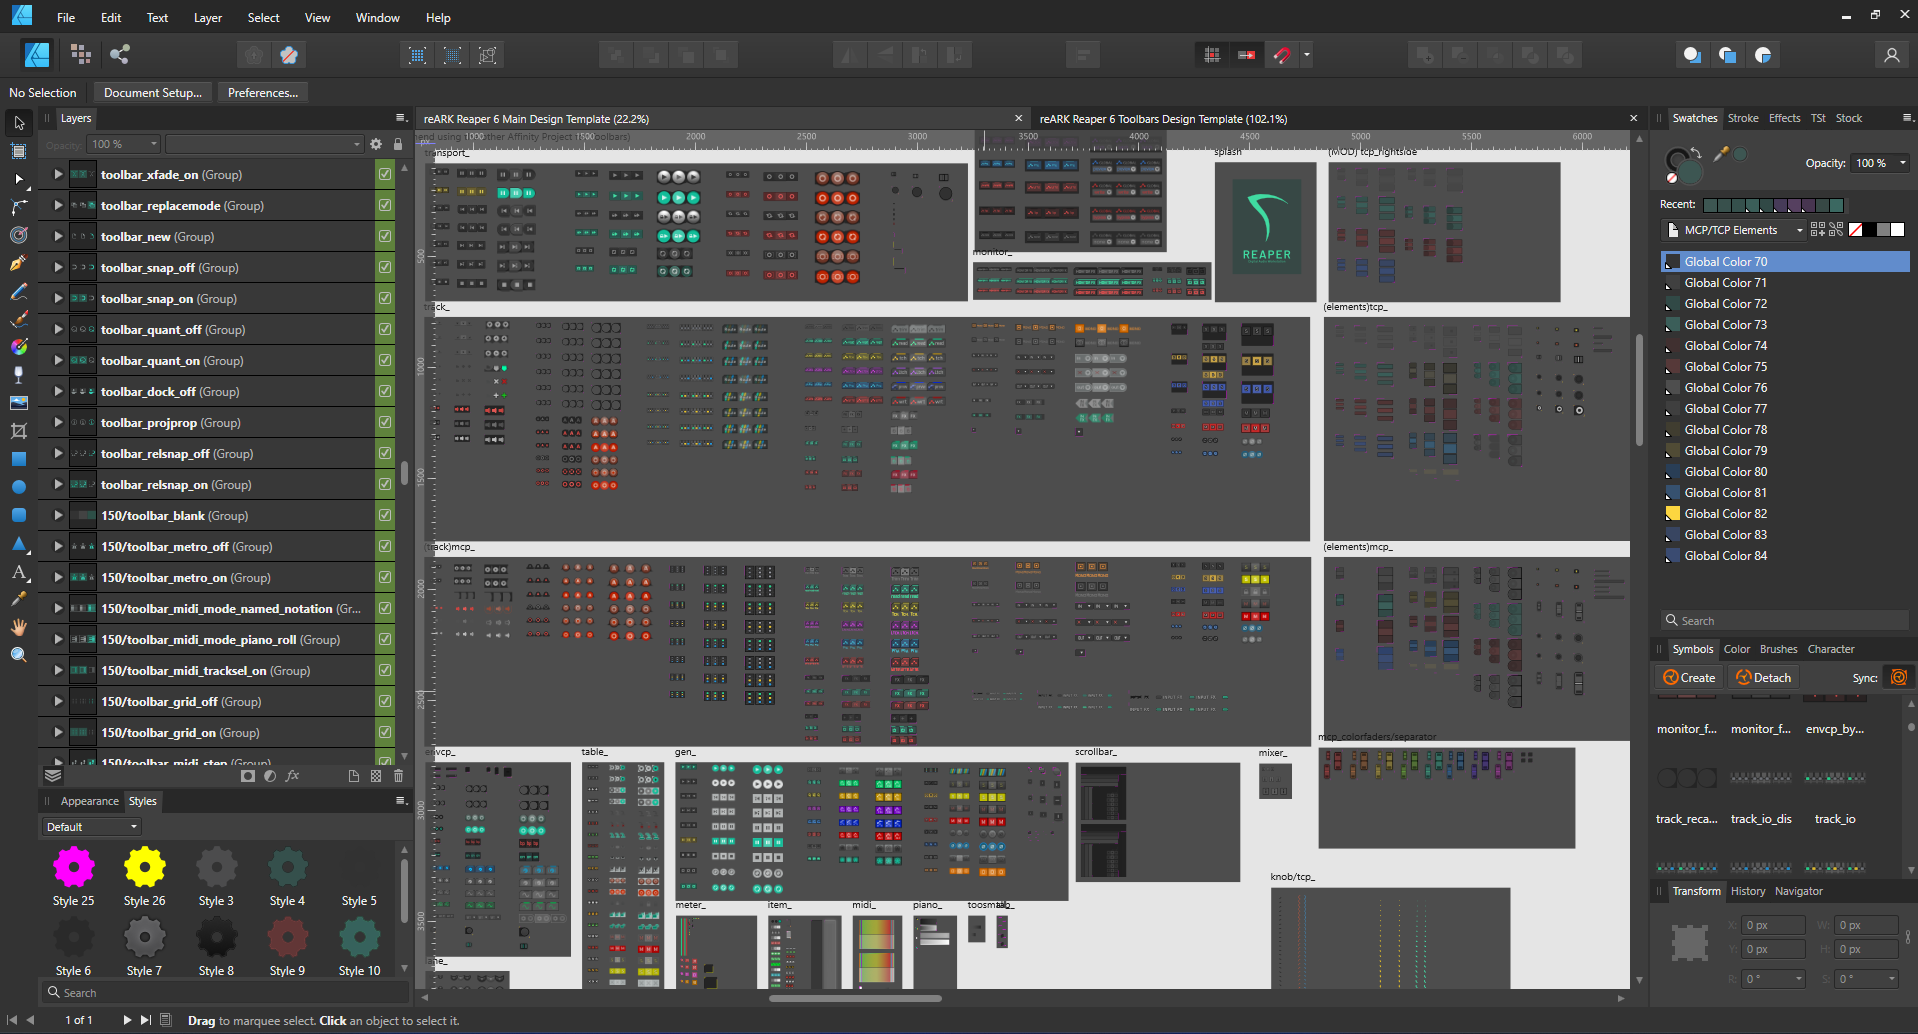
Export Persona
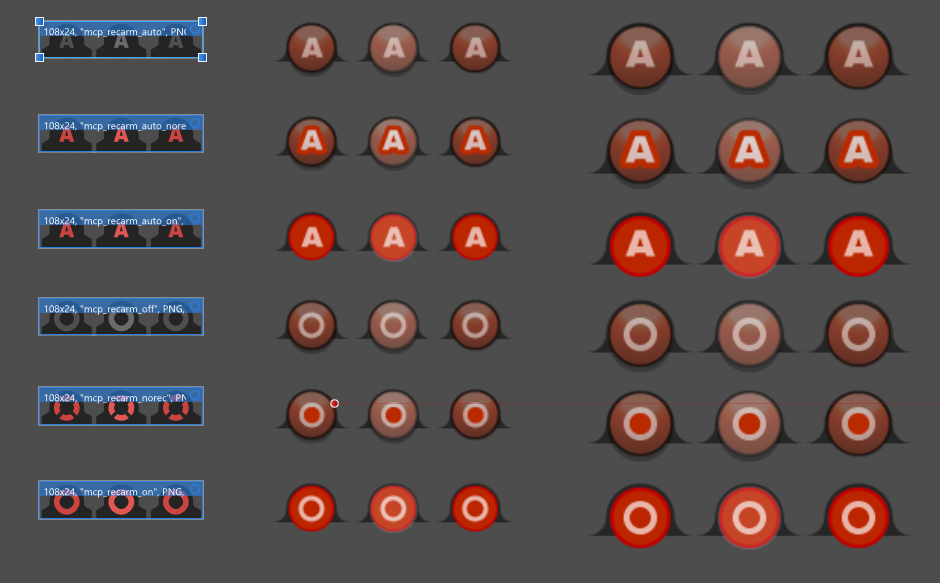
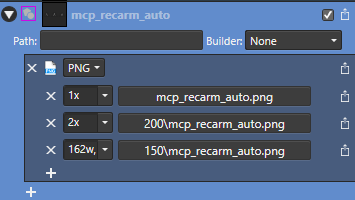
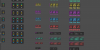
Here the “mcp_recarm_auto” is exported 3 times, for 100%, 150% and 200%, from a single asset inside our project.
It’s one of the rare occurrences you’ll find in the project file because I didn’t have to do any specific adjustments for the 150% file since that asset didn’t have any sharp elements and had a lot of curves (I get a bit more in-depth about this later).
This is great for working with 100%/200% images because doubling the number of pixels doesn’t lead to any issues (150% is a bit more complicated). But we do face a problem even with 200% images when using pinklines, since those also get a x2 scale, the pinklines no longer have 1 pixel of width but 2. Breaking everything.
To solve that problem, we need to make a specific image for 200% images files that use pinklines since using a x2 scale through the Export Persona won’t work. But to make things easier, we’ll use Symbols.
Symbols
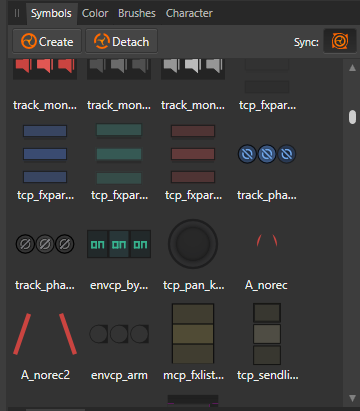
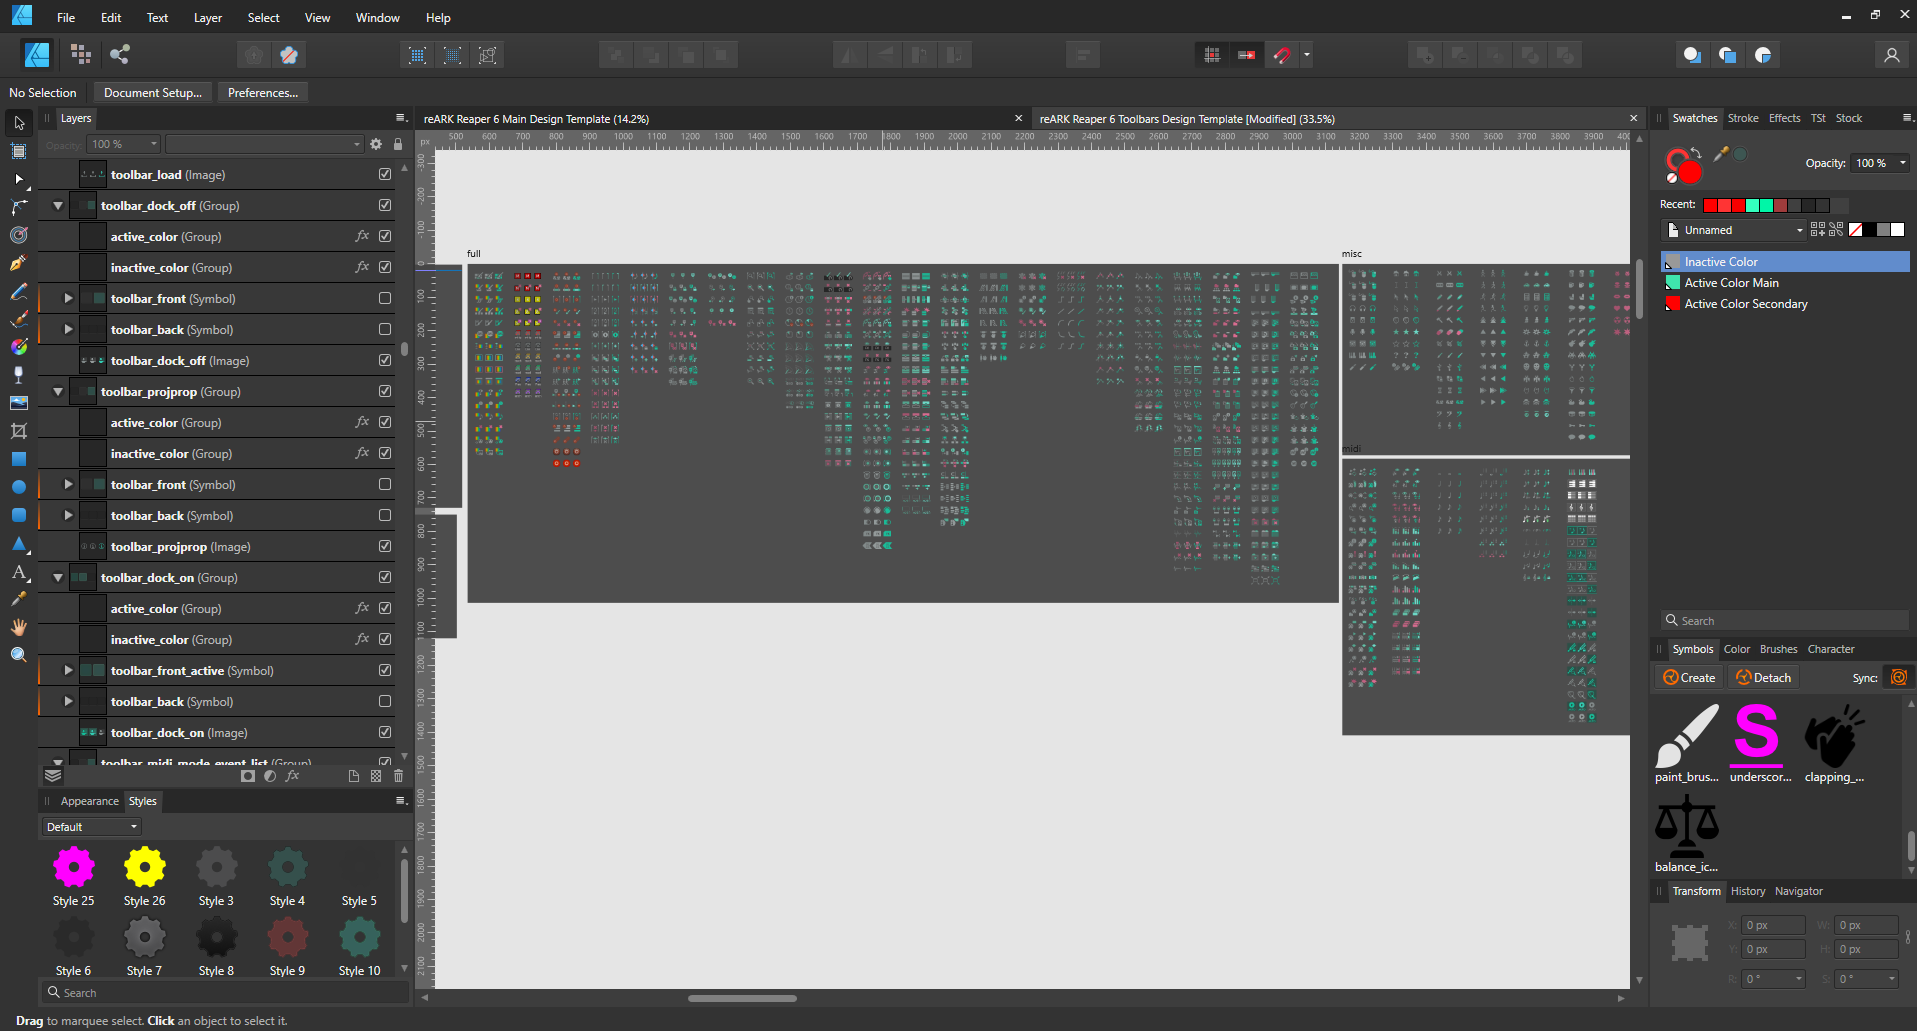
Symbols is a system on Affinity Designer that allows you to sync multiple elements at once, if you modify something on one image, the change will take effect on every image that uses that Symbol. One thing that’s great though, is you can scale a Symbol, and it won’t scale all of the others, which means you can make a Symbol for your normal scale for example, and easily apply a x2 scale and now everything you’ll do on one or the other will be synced.
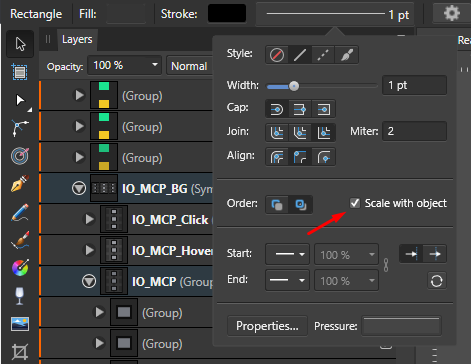
Note that borders/strokes of some elements need to have “scale with object” checked otherwise they’ll remain at their original scale when scaled up, unlike everything else.
With symbols that can be scaled up with no loss, all we need now is to manually add pink lines in another component of the image (not the symbol) for 100% and 200%.
Symbols are your best friends. I should’ve made more of them as I went but I discovered their strength as I made the template. You can even have symbols inside symbols. Don’t bother trying to keep symbols organized, Affinity Designer doesn’t offer any tools to help with that or to order them. If you know something is gonna be repeated like an icon, a background, a complete image, or even pinklines. Give it a name and make it a symbol.
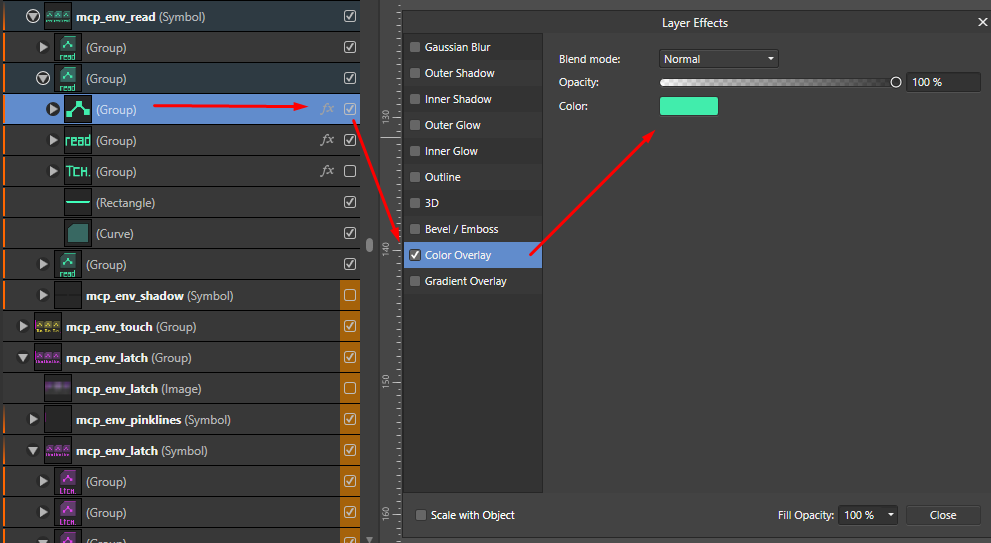
Sometimes you’ll want to color a symbol, but you can’t because then the color will be changed everywhere else, one way to avoid that is to put the symbol in a group, and then color that group with a Color Adjust FX.
Color Adjust FX
Another thing you can use to manipulate a lot of elements at once are “Global Colors” from the Swatches tab. Basically, you can define colors that will be used and linked all across your project.
I honestly didn’t use enough of those but you can already change a lot of the background colors and some of the main colors for FX/Envelopes, etc…

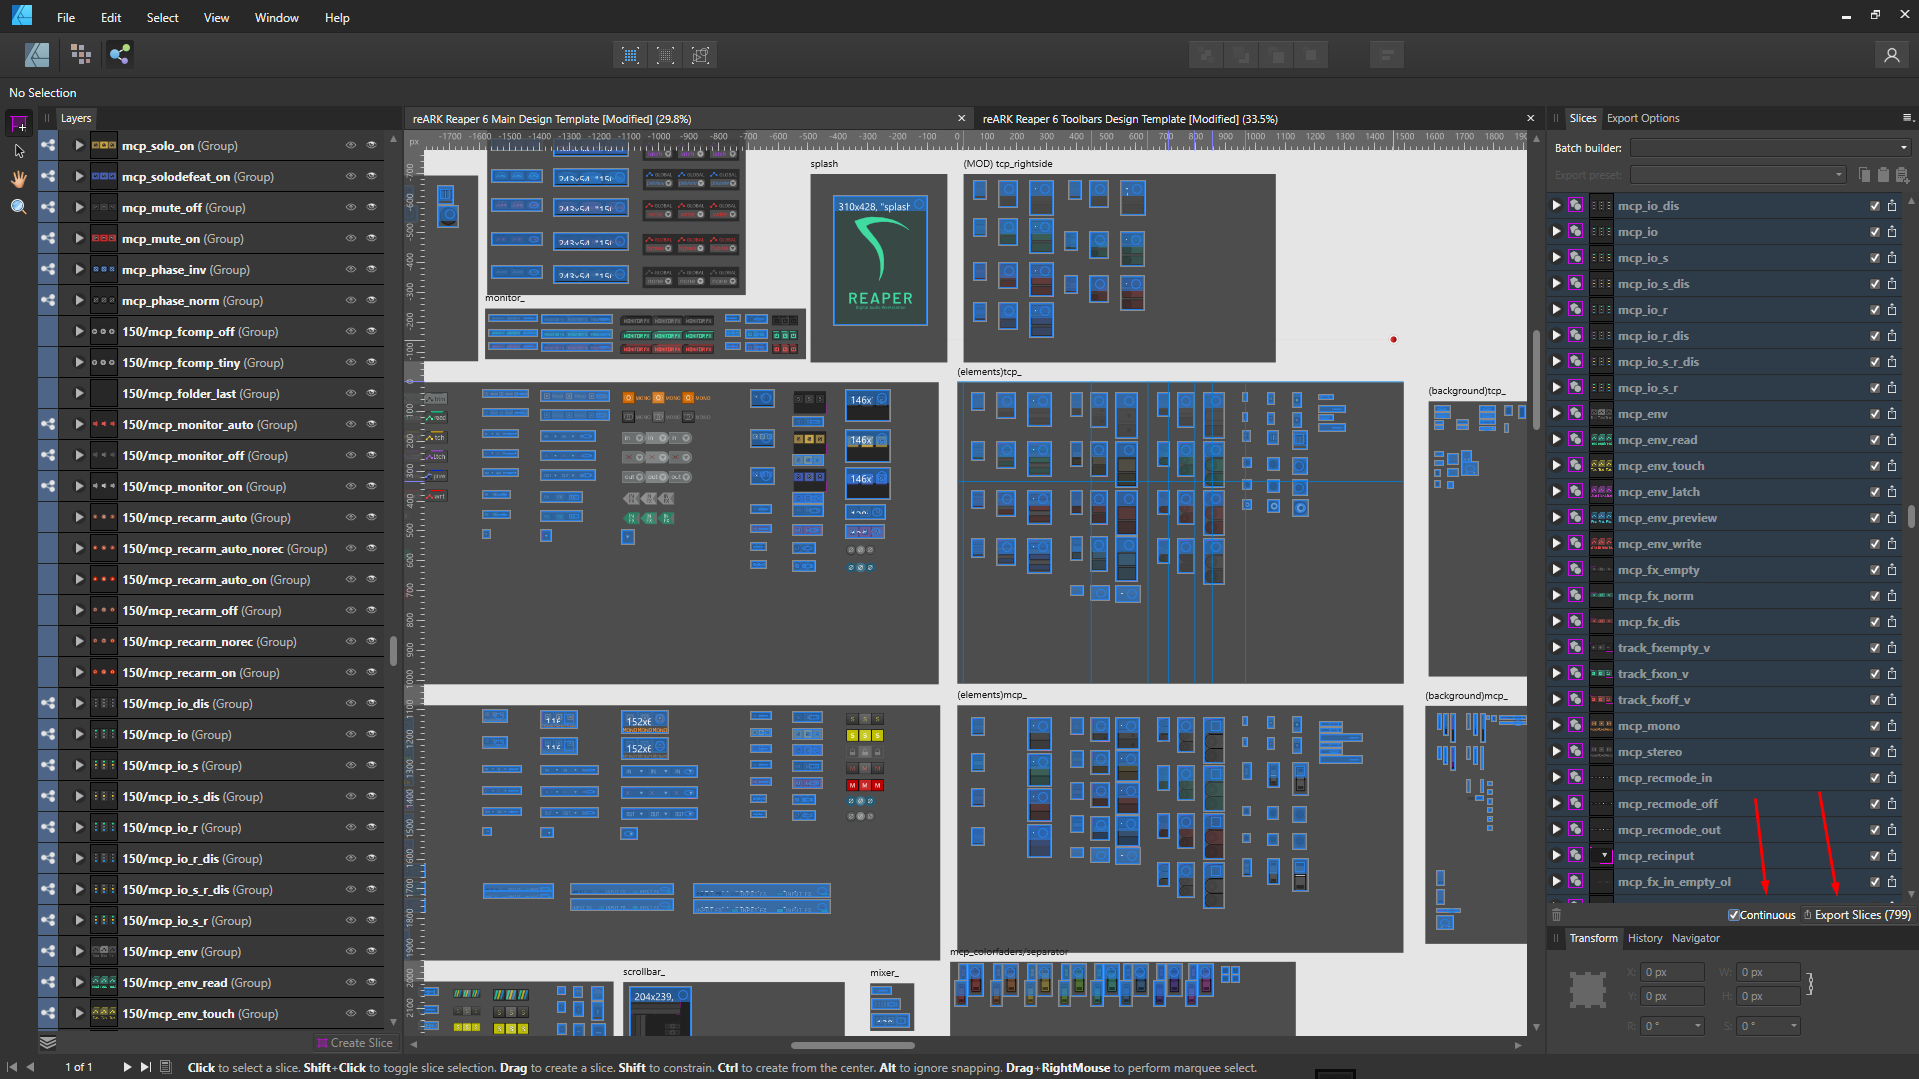
Export templating and scripting
I’ve set up everything so that it’s easy to adjust things and ready to be exported in the Export Persona. Images are already named with their corresponding folder type (150/200 when needed).
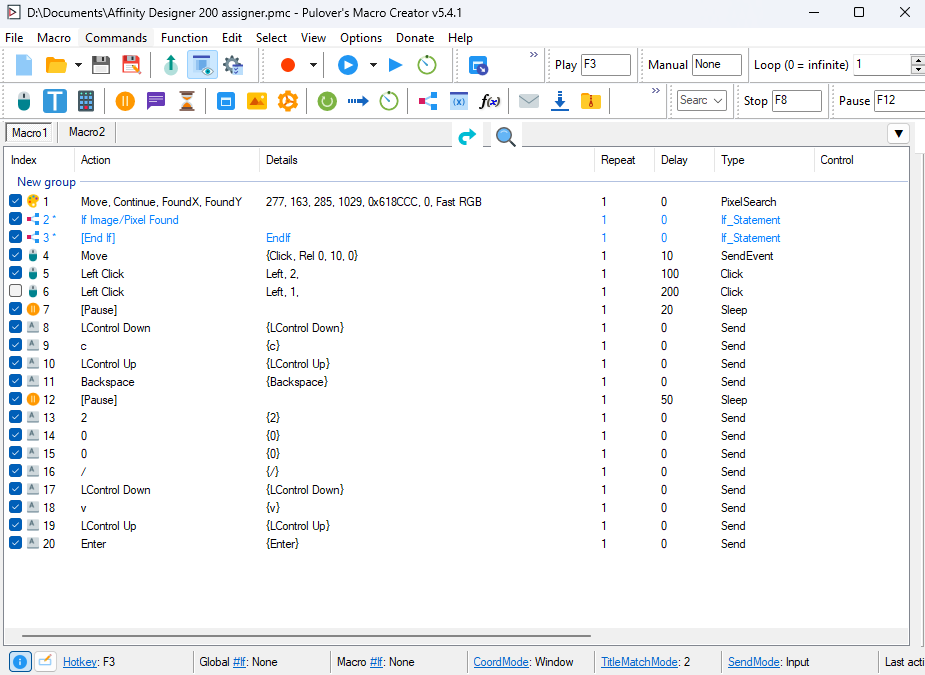
To facilitate my work I used various macros I made using Pulover’s Macro Creator which is an interface to design AutoHotkey macros/scripts. I’ve used it mostly for bulk renaming a lot of assets quickly since Affinity doesn’t have anything for that. You probably won’t need to use it (could be useful for automating a process for making knobs thought) but I recommend it anyway because it can be useful outside of Affinity for any kind of repetitive task. I’ve included the few I used in the archive.
About 150% images.
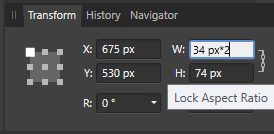
About the 150% images, the main issue we have is that even using vectors, some pixels are going to be stretched awkwardly when scaling by x1.5, which the Export Persona doesn’t even allow to begin with, you have to manually input a specific width and height because multiplying an odd number by x1.5 would result in a decimal number (e.g. 123*1.5 = 184,5) and well your images exports can’t have decimals.
Besides that, even when using symbols a lot of things are going to break when applying a x1.5 scale. It’s mostly an issue for sharp/square shapes which I personally used a lot. Circles won’t be as problematic because of how they obey the pixel grid. You may notice that I drew a lot of the texts by hand, pixel by pixel. This is what allows some elements to be really sharp. With a 1.5 multiplier, that sharpness goes out the window because that one sharp pixel is bleeding halfway through another pixel.
Well, it’s hard to describe, but basically, if you want sharp results and to avoid aliasing, 150% images will require manual adjustments which can take time.

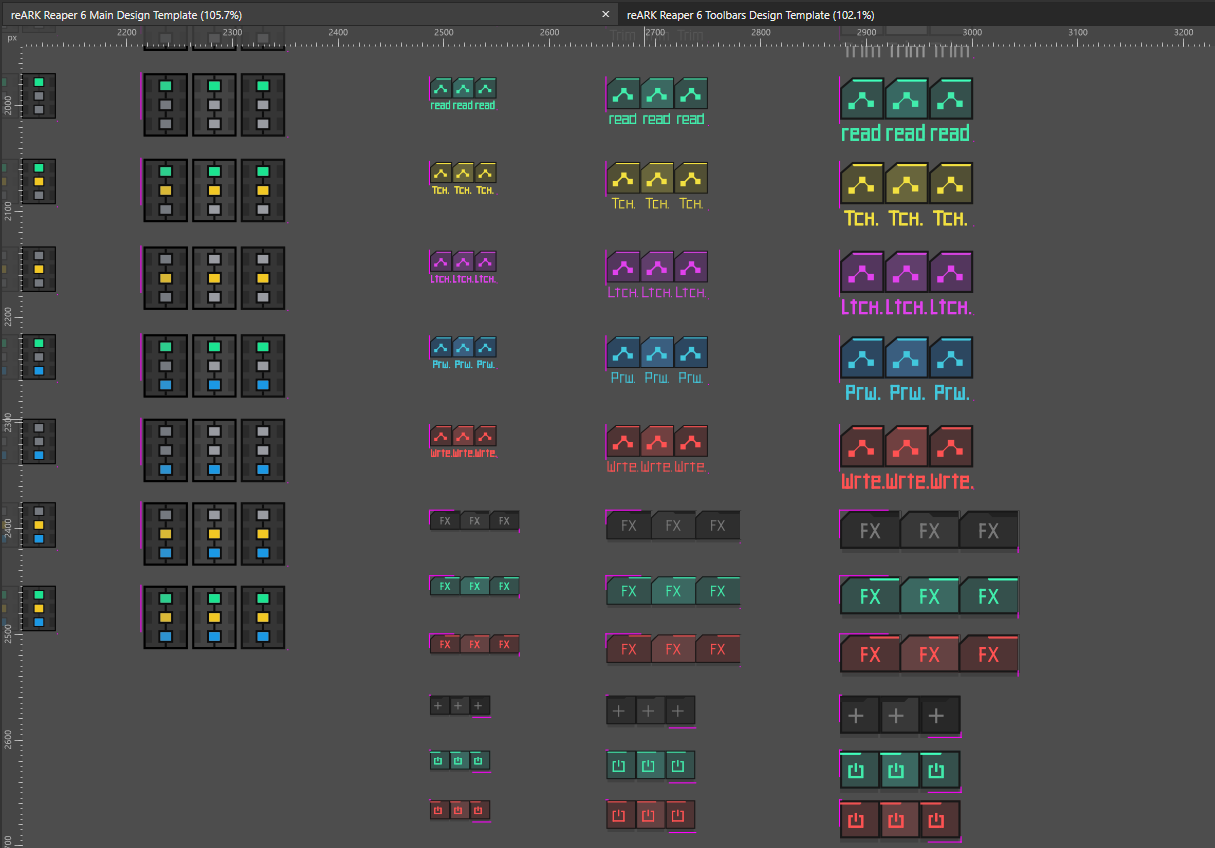
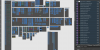
Here you can see I only had to design the 100% and 150%. The 100% is exported as x1 and x2. The 150% is exported as x1.

But here since there are pinklines I had to export all of them. I did use symbols to make the process easier, but I had to unlink the 150% one to fine-tune the pixel placements and to avoid having a 1.5 pixel border/stroke.
Some notes
Be careful with Export Persona splices, sometime they’ll take the wrong size because of a shadow or some random bug and you’ll have to adjust the size manually (which takes more time but honestly it’s better that way).
You can import image files even if they don’t have an extension (.png) in Affinity Designer. With a tool like Bulk Rename Utility this can be used to import all the Reaper images into Affinity Designer, which will then allow you to quickly CTRL+C each image name, make a group, CTRL+V the image name in the group name for export. This is what I wished I did on the Main reARK template would’ve saved my script the hassle of removing .png for each filename (I used this method for the toolbars thought).
You’ll also notice I’ve inserted the folder handle for /150 and /200 in front of a lot of group to make export easier (that way you don’t have to indicate a specific folder in the Export Persona which takes much more time to set up).
Here is a video I recorded at normal speed of one of the Macro I did using Pulover’s Macro Creator. This was used to create the group I’m mentioning above.